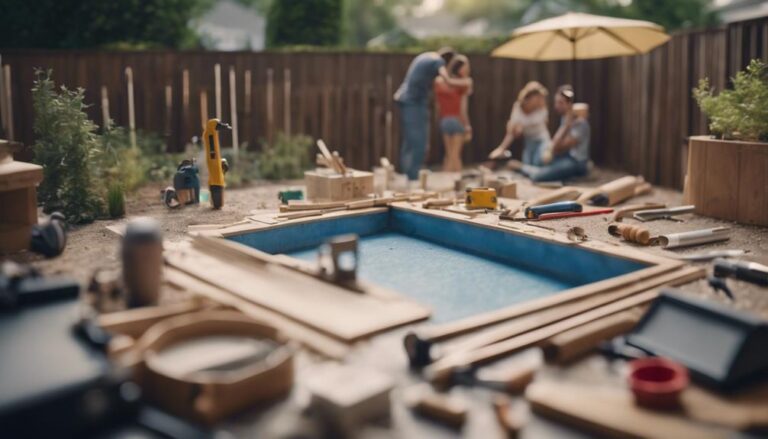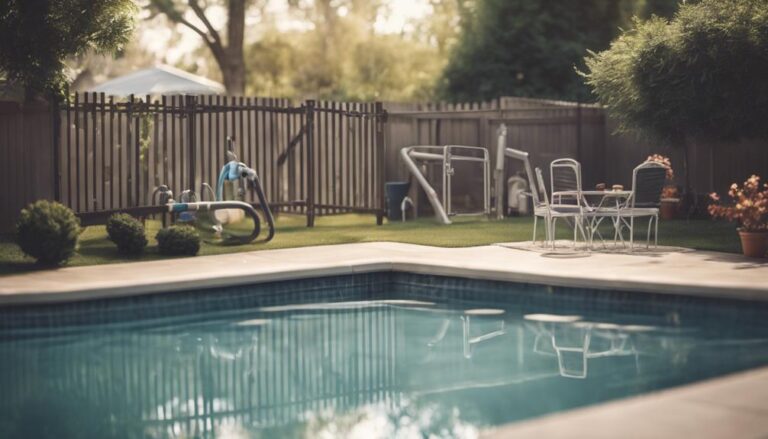
How to Install Pool Fence in Soil
First, measure and mark the positions for your fence posts. In the case of loose soil, excavate holes 25cm deep and prepare them with soil sleeves. Use a spirit level to check alignment. Fill the holes with quick-setting concrete to establish a solid foundation.
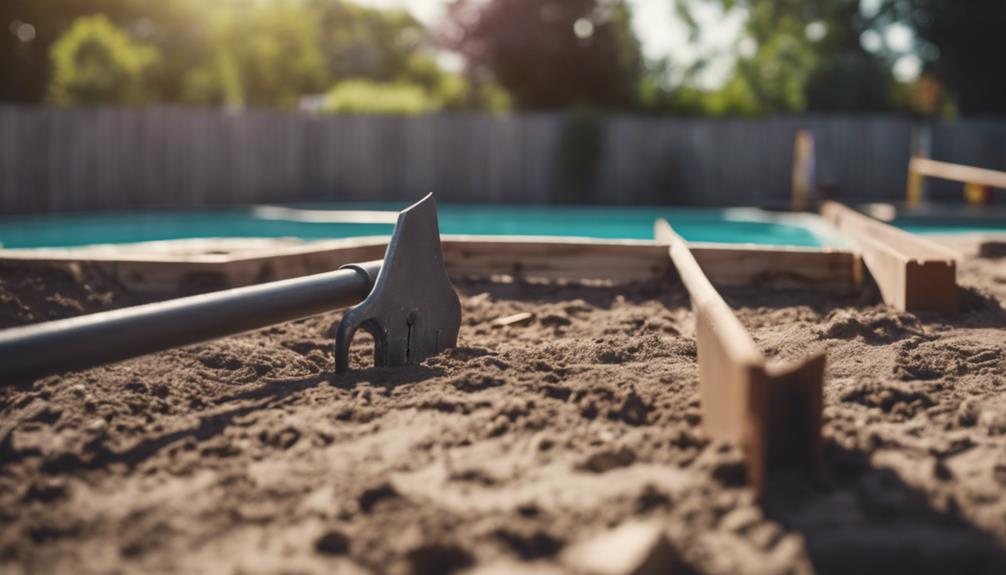
Use a rotary hammer drill, mallet, and plastic sleeves. The drill helps to create precise holes, while the mallet aids in fitting PVC pipes for increased stability. Accurate measurement is crucial to avoid uneven posts.
Proceed to install the panels, adjusting fence gates with tension latches for added security. The correct use of tools and precise measurements are essential for a stable and secure pool fence in soil.
Mastering these steps is vital for a successful installation.
Planning and Preparation
Before starting the process of installing a pool fence in soil, it's important to measure and mark the post locations accurately to ensure precise placement and optimal security. This initial step sets the foundation for a strong and reliable barrier around your pool, offering safety and peace of mind.
Once you have identified the exact positions for your fence posts on the ground, the next step involves preparing the soil for installation. This preparation includes digging holes around 25 centimetres deep, a process that creates the necessary foundations for securely anchoring your fence.
Using soil sleeves greatly helps with installations on loose surfaces like soil, rock gardens, or mulch. These sleeves not only assist in securing the posts but also ensure they are correctly aligned. Achieving the correct level for each post is essential for stability, so using a spirit level during the installation of the sleeves is essential.
To strengthen the foundation of your pool fence in the soil, pouring fast-setting concrete into the holes containing the soil sleeves provides the lasting stability needed for a successful installation.
Gathering Necessary Tools
Before you start the physical work of installing your pool fence in soil, it's vital that you have collected the correct tools for the task. You will require a roto hammer drill and a one-inch and one-eighth drill bit to make accurate holes, as well as a tape measure to guarantee the correct spacing between fence posts.
Moreover, choosing the right digging tools, like a mallet for PVC pipes, is crucial for anchoring your fence's base in soft soil.
Selecting Appropriate Tools
To ensure a smooth installation of your pool fence on soil, you will need to gather the appropriate equipment, including a roto hammer drill, plastic sleeves or one-inch PVC pipes, specific drill bits, a mallet, and fence gates with adjustable tension latches.
The roto hammer drill is essential for creating precise holes in tough soil, which is crucial for a stable pool fence setup. By placing plastic sleeves or PVC pipes into these holes and hammering them down with a mallet, you add the necessary stability and tension to your fence.
Selecting the correct size drill bits, especially one-inch and one-eighth, is vital for achieving a perfect fit for these components. Moreover, fence gates equipped with adjustable tension latches are important for maintaining the security and strength of your installation, protecting your pool area.
Importance of a Tape Measure
After gathering your necessary tools, do not forget the importance of a tape measure in accurately spacing the bases for your pool fence installation in soil.
This tool is essential for establishing the precise distances between each base, guaranteeing that the holes you excavate are perfectly aligned. The use of a tape measure helps prevent the uneven positioning of bases, a common error that could jeopardise the stability and aesthetics of your fence.
Digging Equipment Choices
Selecting the appropriate digging equipment, such as a post hole digger or an auger, is vital for efficiently creating holes in the soil for your swimming pool fence installation. Hiring a petrol-powered auger can make the process more straightforward and efficient. However, shovels and spades are dependable alternatives, particularly for softer soil types. It is vital to select equipment that is compatible with your soil type to prevent complications.
| Equipment | Best for Soil Type |
|---|---|
| Auger | Hard, compact |
| Post Hole Digger | Varied, adaptable |
| Shovels | Soft, loose |
| Spades | Medium, manageable |
| Petrol-Powered Auger | All types, efficient |
Having the correct tools readily available can significantly ease the installation of your swimming pool fence in the soil.
Marking the Boundary Fence
Begin by using a string tied to pegs in the ground to establish a straight line for your pool fence installation on soil, ensuring precision and alignment throughout the process. This initial step is crucial for marking the fence line accurately, providing a visual guide that ensures your fence posts are aligned correctly.
Here's how to achieve a precise fence line:
- Tie the String: Securely tie a string to pegs at each end of your proposed fence line. Ensure the string is taut and perfectly aligned with the intended path of your fence to maintain a straight line.
- Check for Alignment: Walk the length of the string, adjusting as necessary to ensure it follows the precise path you want your fence to take, including managing any turns or curves.
- Mark Post Locations: Along the taut string, mark the locations for your fence posts. These marks act as your guide, ensuring each post is positioned accurately for a secure installation.
- Adjust as Needed: Don't hesitate to make adjustments to the string for better alignment. This step is vital for accommodating any unexpected changes in your fence line design.
This methodical approach ensures that the installation of your pool fence in soil is both accurate and aligned, providing a secure and visually appealing boundary.
Drilling and Setting Posts
After marking your fence line, it's essential to concentrate on drilling and setting posts, a vital step in installing your pool fence in soil.
You will need to choose the correct tools for drilling, accurately measure the distances between posts, and make sure each post is cemented securely for long-lasting stability.
This process guarantees that your fence not only appears professional but also complies with safety standards.
Selecting the Correct Tools
To ensure a robust and secure pool fence installation in soil, it is essential to choose the right tools, specifically a rotary hammer drill equipped with a 28mm drill bit to create precise holes.
Here's what you need for an effective installation:
- Rotary Hammer Drill: Essential for drilling into soil to accurately position your fence posts.
- 25mm PVC Pipes: Used as footings for stability; adjust the lengths as necessary.
- Adjustable Tension Latches: Ensure your fence posts are firmly secured for a reliable installation.
- Cost-Effective Solutions: Consider renting tools and looking for second-hand pool fences to save money.
Make sure all spellings and grammatical structures conform to UK English standards, offering clear, authoritative guidance on selecting the correct tools for installing a pool fence in soil. The explanation should present a detailed, step-by-step approach, maintaining an instructional tone suitable for an audience with a good understanding of the subject matter.
Measuring Post Distances
Before drilling and setting your posts, measure and mark their distances on the ground, aiming for approximately 75 centimetres apart, to guarantee a stable and uniform pool fence installation in soil.
For accurate post distances, excavate holes about 25 centimetres deep. This depth is necessary for stability and support on earth surfaces.
Using a spirit level, verify the alignment of each post to ensure they're vertical before securing them, averting future alignment problems.
Position sleeves at ground level, in alignment with the deck surface, to keep a consistent fence height. This step is critical for a robust installation foundation.
Accuracy in measuring post distances and preparing holes directly influences the overall stability and appearance of your pool fence on earth.
Cementing Posts Securely
Start by excavating holes approximately 25 centimetres deep in the soil for each fence post base, ensuring a robust foundation for your pool fence.
To cement posts securely into soil surfaces, adhere to these steps:
- Utilise a roto hammer drill to create precise holes for the bases in hard soil surfaces.
- Hammer PVC pipes at an angle into the earth to stabilise the bases in loose soil.
- Guarantee proper alignment and levelness of each post base to maintain the stability and aesthetics of your fence.
- Fill the holes with quick-setting concrete to securely cement the fence posts, making certain they're solid and won't shift over time.
Following these steps ensures your fence posts are secure, aligned, and level, offering a safe and visually appealing barrier around your pool.
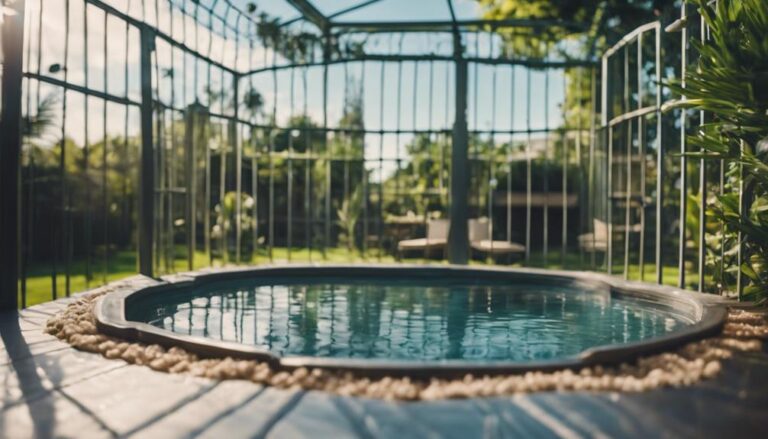
Installing Fence Panels
When installing fence panels in soil, start by digging holes approximately 25 centimetres deep for each panel to ensure stability and proper anchorage. This depth allows for the use of soil sleeves, which are crucial in securing the fence panels firmly, especially on softer grounds. Once the holes are prepared, insert the soil sleeves. It is important to ensure that these sleeves are level with the ground; gently tap them into the soil until they are perfectly aligned with the surface.
Next, carefully place your fence panels into the sleeves. For added security and to anchor the panels securely, pour fast-setting concrete into each hole around the base of the sleeves. This step not only reinforces the stability of your fence but also protects it against the elements.
To achieve a professional and visually appealing finish, it is essential to follow a straight line guide. This guide will help you maintain proper alignment and spacing between each panel, ensuring that your fence is not only functional but also enhances the overall appearance of your outdoor space. Precise alignment and consistent spacing are crucial for a successful fence installation in soil.
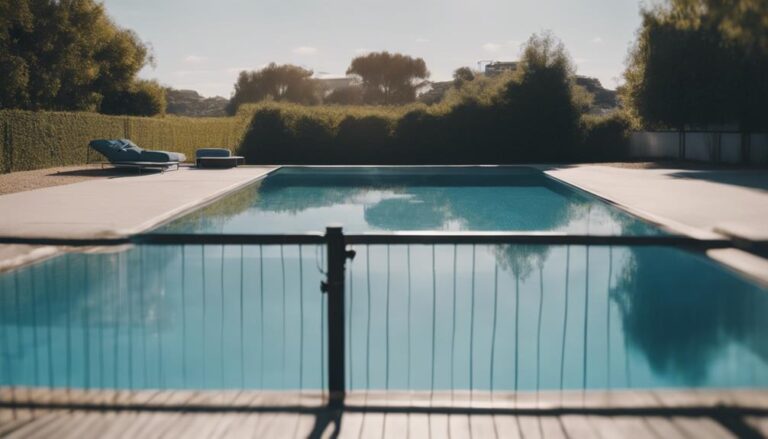
Adjusting and Securing the Gate
After installing the fence panels, adjusting and securing the gate is essential for meeting safety and functionality standards. The gate serves as a critical component of your pool fence, offering both security and access. Follow this guide to ensure proper installation:
- Gate Stability: Begin by firmly attaching the gate hinges to the fence post. This step ensures stability and enables the gate to swing smoothly. Use sturdy screws or bolts that can support the weight of the gate and its regular use.
- Gate Height and Gaps Adjustment: Use wooden blocks to check and adjust the gate's height and the gaps between it and the ground. The goal is to comply with safety regulations, preventing small children or animals from passing underneath.
- Installation of a Reliable Lock: Secure the gate to the post and install a high-quality gate lock. A dependable locking mechanism is crucial for security, making sure the gate remains closed and locked when not in use.
- Verification of Gate Closure and Functionality: Confirm that the gate closure functions correctly and that the gate opens outward from the pool area. Outward opening is a key safety feature, reducing the risk of accidental access to the pool.
This guide aims to offer clear, step-by-step instructions for adjusting and securing a pool gate to meet safety and functionality standards.
Frequently Asked Questions
Why do pool fences need to be grounded?
You need to earth your pool fence to prevent electric shock hazards. It ensures safety by grounding stray currents, reducing electric shock risks, and protecting pool equipment from electrical faults. It's essential for a safe pool environment.
How deep should post holes be for a pool fence?
For your pool fence, you should dig post holes about 10 inches deep. This depth ensures the posts are stable and strong in soil, preventing any leaning or shifting for a secure and level fence.
Can you install a pool fence yourself?
Yes, you can install a pool fence yourself using a DIY kit, which includes all necessary components. It's cost-effective but requires effort to secure footings in the ground, especially in soil, for stability.
How do you anchor a pool fence?
To anchor a pool fence, you'll use dirt sleeves and fast-setting concrete for stability. Tap the sleeves level with the ground, and ensure straight alignment with a string guide. Each footing typically needs two bags of concrete.