The Ultimate Guide to Installing Your Own Glass Pool Fencing: A Step-by-Step Process for Homeowners
Introduction
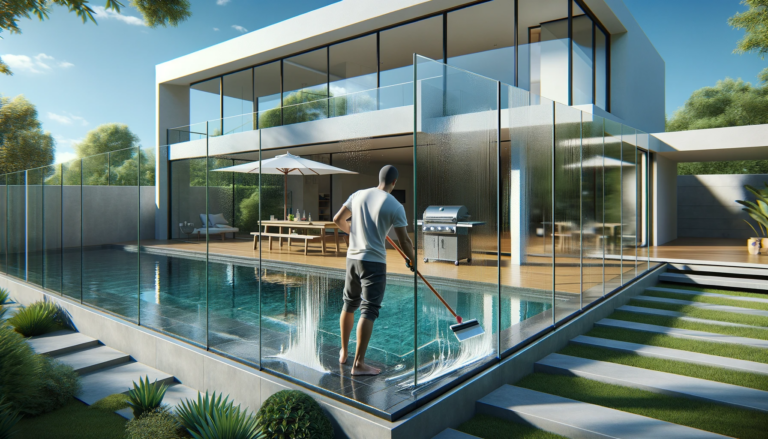
Glass pool fencing is not just a safety feature for your pool area; it’s a statement of style and sophistication. With its sleek design, unobstructed views, and the promise of safety, glass pool fencing has become a popular choice among homeowners. In this guide, we’ll walk you through the process of installing frameless and semi-frameless glass pool fencing, turning your pool area into a stunning and secure retreat. This article goes into how to install your own glass pool fence.
Understanding Glass Pool Fencing
Frameless and Semi-Frameless Fences
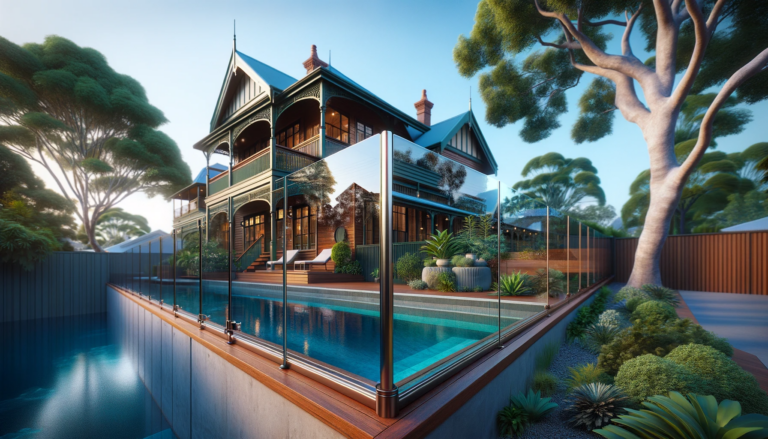
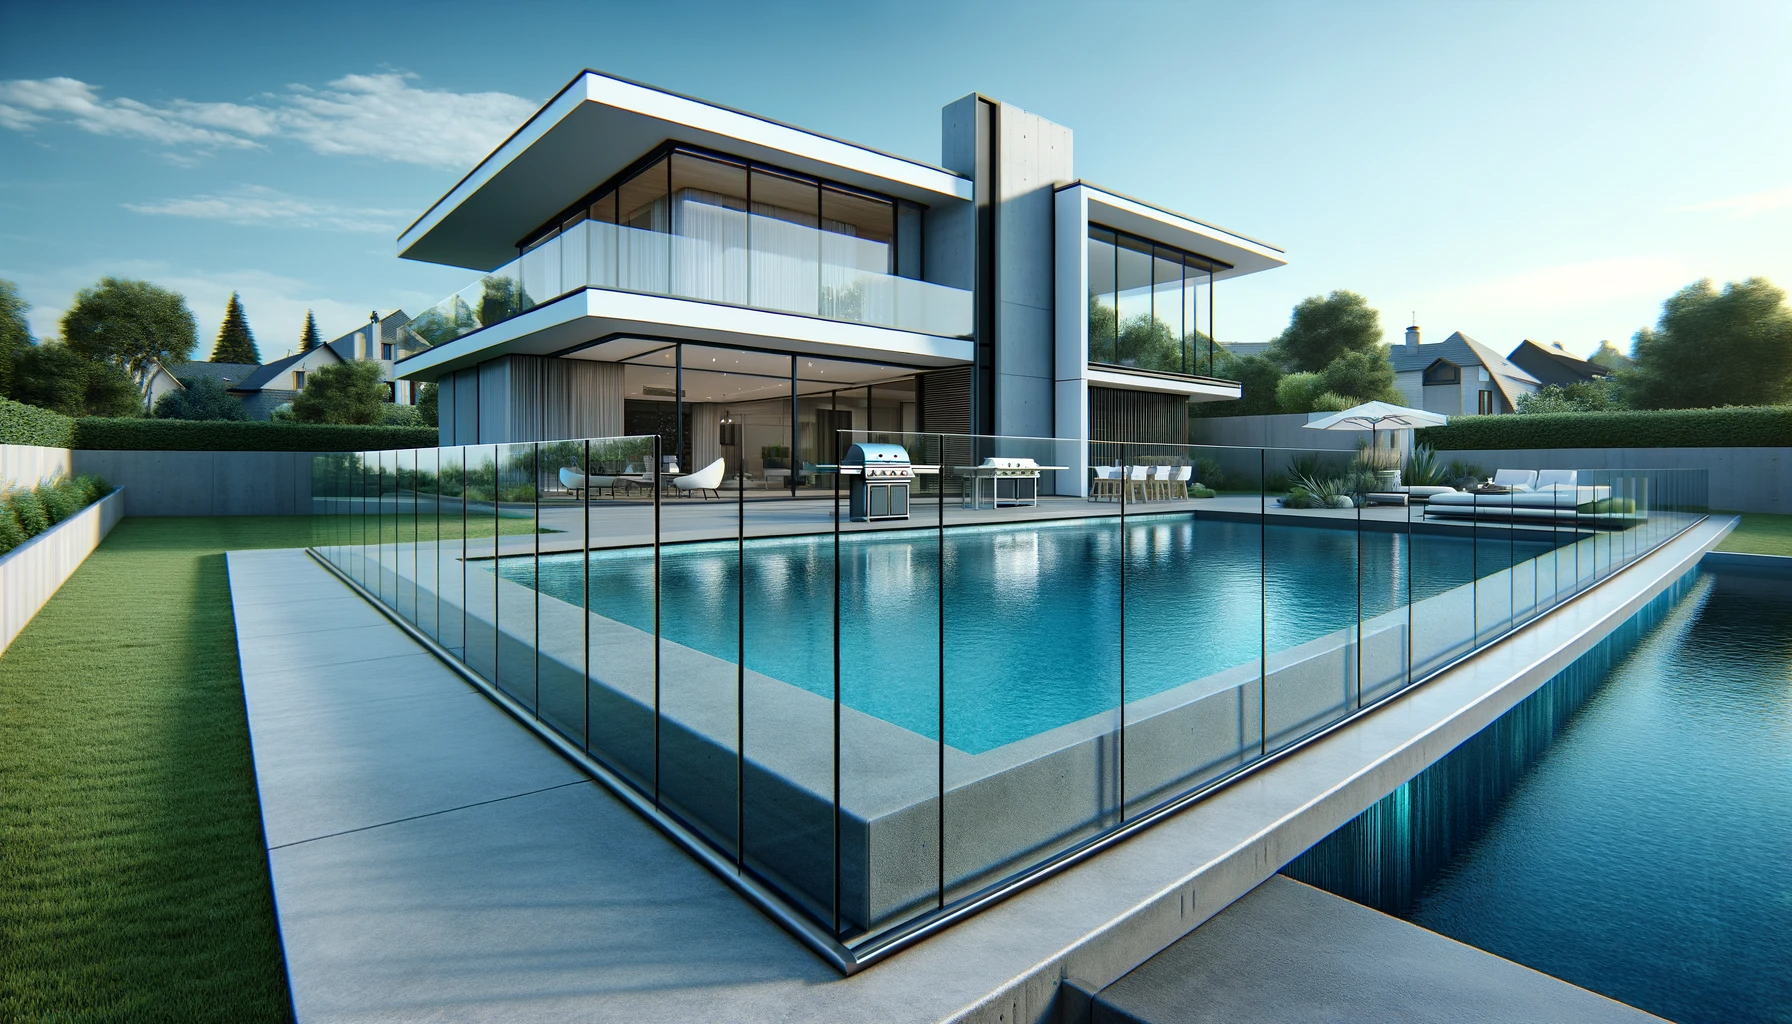
Glass pool fencing comes in two main styles: frameless and semi-frameless. Frameless fencing offers a seamless look with glass panels secured by spigots, while semi-frameless fences are supported by posts between the panels. Both types provide an unobstructed view and an elegant touch to your pool area.
Tools and Materials Needed
Tools:
- Tape Measure
- Chalk Line
- Core Driller
- Hammer Drill
- Bucket for Mixing Grout
- Allen Keys
- Spirit Level
- Matts or Blankets (for protecting glass)
Materials:
- Glass Panels and Gate
- Spigots and Dress Rings
- Stainless Steel Hinges and Latch
- Grout
- Glass Cleaner and Cloth
Safety Regulations and Compliance
Safety is paramount when it comes to pool fencing. The fence must be at least 1200mm high, with the latch placed at least 1500mm from the ground or 300mm from the top. The gap under the fence should not exceed 100mm, and the spaces between glass panels must be less than 10mm. Always check local regulations to ensure compliance.
Preparing for Installation
Site Preparation:
- Mark the Area: Use a chalk line to mark where the fence will be installed.
- Measure Distances: Ensure that distances between spigots are accurately measured.
- Check for Level Ground: Use a spirit level to ensure the ground is even.
Step-by-Step Installation Guide
1. Ground Preparation:
- Start by marking the ground where the spigots will be installed. Ensure these marks are precisely aligned with your pool area’s dimensions.
2. Installing Spigots and Dress Rings:
- Drill holes at the marked spots using a core driller. These holes will hold the spigots that support the glass panels.
3. Placing Glass Panels:
- Carefully position the glass panels into the spigots. Use matts or blankets to protect the glass during installation.
- Adjust each panel to ensure they are level and aligned.
4. Setting Up the Gate:
- Install stainless steel hinges onto the gate.
- Attach the gate to the fencing, ensuring it swings freely and the latch is at the correct height.
5. Ensuring Alignment and Stability:
- Double-check all panels and the gate for level and alignment.
- Secure the panels and gate in place, ensuring there are no gaps or misalignments.
Finishing and Maintenance
After installation, clean the glass panels with glass cleaner and a cloth. Regular maintenance includes checking the tightness of spigots and hinges and ensuring the glass remains clean for an unobstructed view.
Getting a Professional Quote
If you’re unsure about DIY installation, consider getting a professional quote to see how much a glass pool fence costs. Professionals can ensure accurate and secure installation, adhering to all safety regulations.